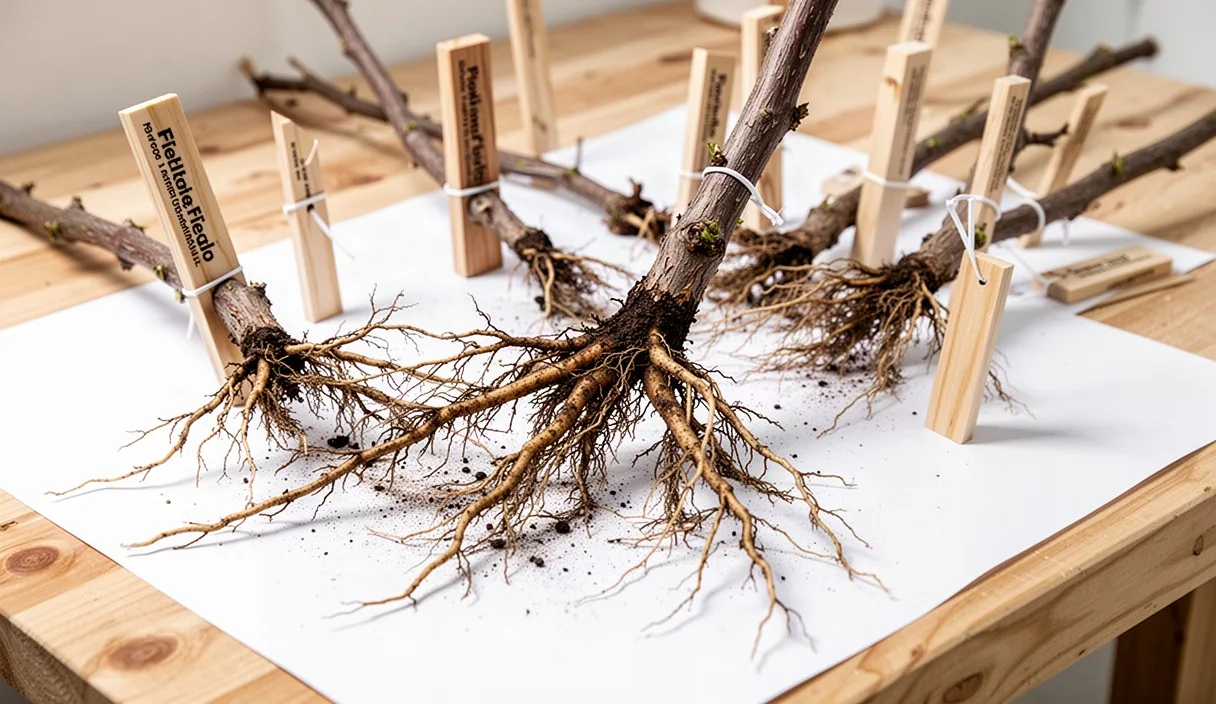
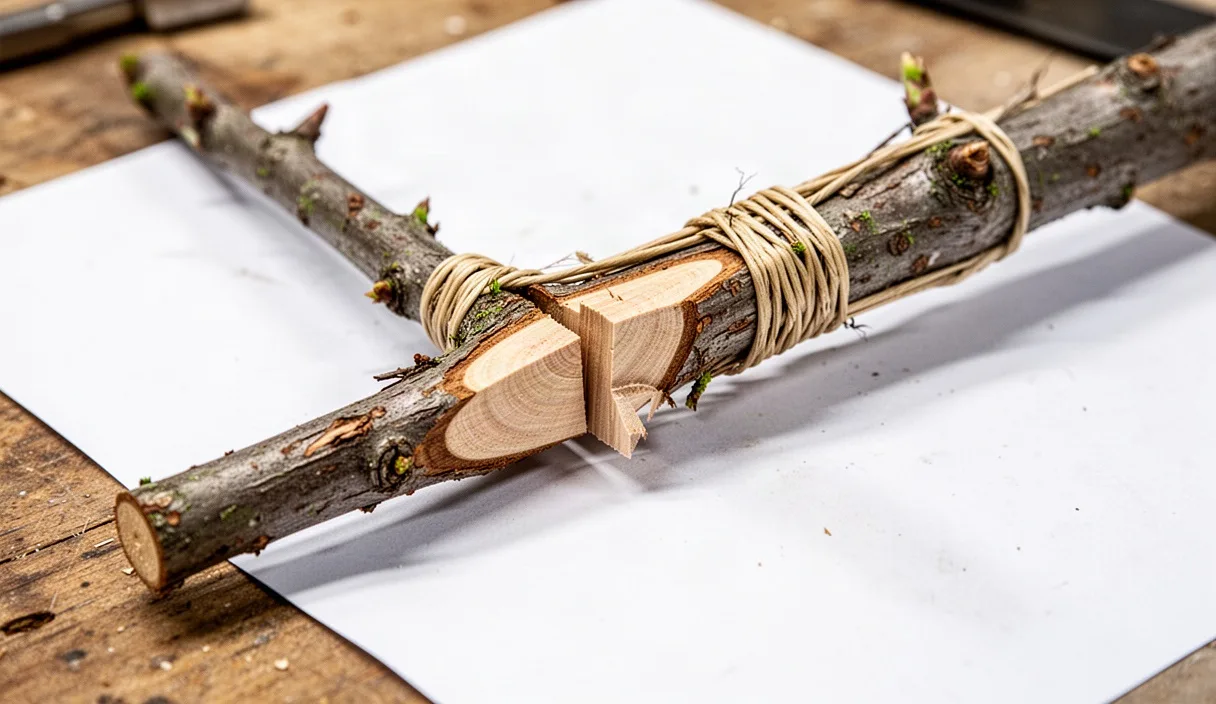

Heritage fruit and nut seedlings offer genetic resilience, deep root architectures, and adaptation to regional soils that commercial clonal rootstocks rarely match. Propagating these varieties requires grafting scions onto juvenile rootstocks while both components remain dormant. Among bench-grafting techniques, the whip and tongue method provides structural rigidity and high surface contact between the vascular systems of the two plants. When executed properly, the interlocking cuts hold the union firm even before tying, which reduces failure rates caused by shifting during callusing.
Working with wild or heritage seedling understocks introduces natural variation in stem diameter, wood density, and pith diameter. Clonal rootstocks are graded to uniform millimeter tolerances, but wild-collected seedlings require careful matching by eye and calipers. Precision with the grafting knife, strict adherence to tool hygiene, and an understanding of cambial anatomy determine your graft take rates. The following protocols outline the physical cuts, tool manipulation, alignment standards, and aftercare required to join heritage wood reliably.
Selecting Dormant Scion Wood of Equal Caliper
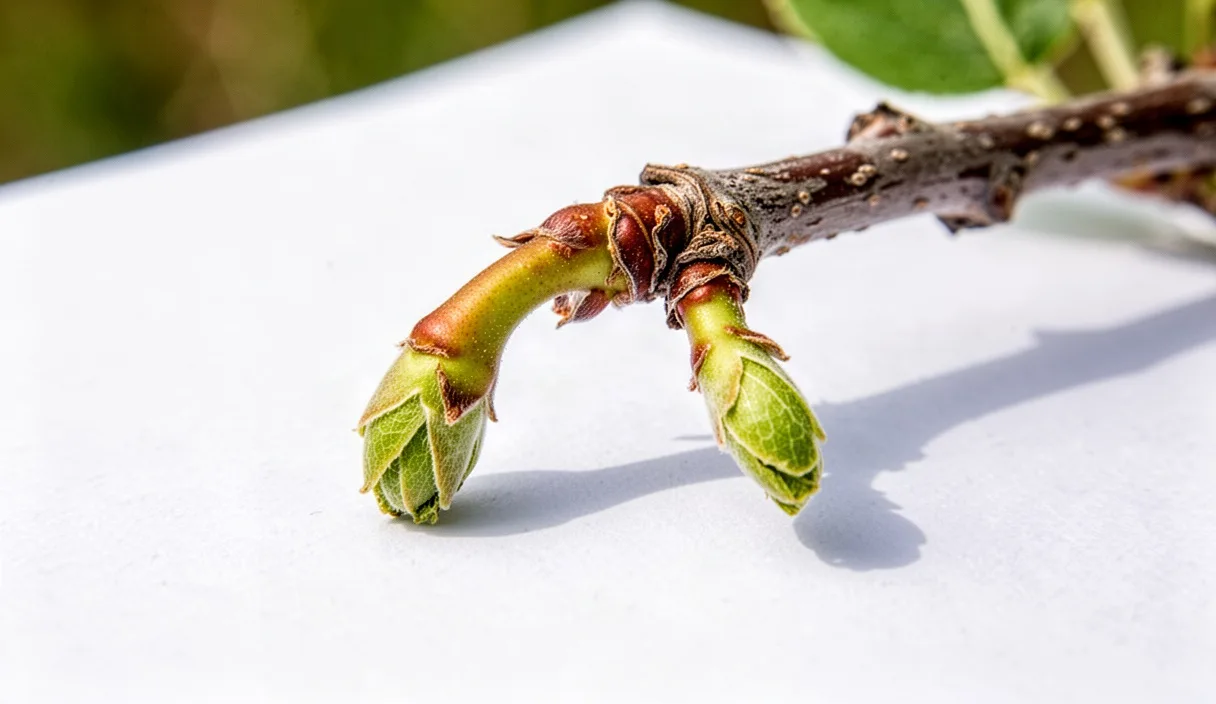
Collect scion wood during deep winter dormancy, typically between late January and late February in temperate zones. Choose firm, straight water sprouts or terminal vegetative shoots from the previous season of growth. Avoid two-year-old wood, which displays rougher bark and smaller bud clusters, as well as weak interior canopy twigs. The scion wood should show healthy exterior bark color typical of the cultivar, bright green sub-cortical tissue when lightly scraped with a thumbnail, and plump, tightly closed vegetative buds. Flower buds, which are rounder and fatter, sap moisture and energy from the union and must be rejected.
Measure the diameter of the rootstock seedling at the grafting point, which sits roughly 75 to 150 millimeters above the root flare. For hand grafting without specialized vices, caliper sizes between 6 and 10 millimeters offer the best balance of flexibility and structural stability. Select a scion stick that matches the seedling diameter within 0.5 millimeters. While an experienced grafter can manage a mismatch by aligning one side alone, matching both margins ensures two distinct lines of cambial contact, accelerating vascular reconnection and mechanical strength.
Store harvested scions wrapped in damp paper towels or clean, moist sawdust sealed inside high-density polyethylene bags. Maintain storage temperatures between 1 and 3 degrees Celsius. If temperatures rise above 4 degrees Celsius, bud swell begins, depleting carbohydrate reserves before the union can knit. If the scions dry out, the cambium dies. Check scion bundles every three weeks for mold or desiccation, discarding any sticks displaying shriveled bark or discolored brown pith.
Angles, Lengths, and Knife Motion for the Primary Bevel
The primary cut for a whip and tongue graft is a single, flat, sloping plane known as the bevel. The length of this cut must equal roughly 3 to 4 times the diameter of the wood. For an 8-millimeter seedling stem, the cut face should measure between 24 and 32 millimeters in length. Cuts shorter than 2.5 times the diameter yield inadequate surface area for cellular bridging, while cuts longer than 4.5 times the diameter produce thin, flexible tips that curl, dry out, or split when tied.
Execute this cut using a dedicated grafting knife with a single-bevel blade ground to an angle of 15 to 18 degrees. A double-beveled pocketknife wedges into the wood and deviates, producing a wavy or scooped face that creates air pockets in the graft union. Hone the blade on an ultra-fine waterstone until it shaves arm hair cleanly without dragging. Sanitize the blade with 70 percent isopropyl alcohol between trees to prevent spreading viral or bacterial pathogens, such as fire blight or apple mosaic virus.
Position the seedling or scion firmly in your non-dominant hand, keeping your fingers tucked behind the cut line. Anchor your dominant arm against your torso to use shoulder and core muscles rather than wrist motion. Draw the blade through the wood in a single, smooth, continuous diagonal pull. Hesitation or sawing motions leave ridges in the woody tissue that prevent the scion and stock from sitting flush. Inspect the face of the cut from the side: it must be completely flat, with no concave dip in the middle and no convex roll at the feather edge.
Cutting Interlocking Tongues Safely and Accurately
The interlocking tongue provides the mechanical grip that distinguishes this technique from a simple splice graft. To place the tongue cut, visually divide the exposed flat face of the bevel into three equal sections. Place the knife edge across the face at the boundary between the upper third and the lower two thirds, exactly one third of the distance down from the pointed tip.
Initiate the cut by rocking the knife blade gently into the wood across the grain to establish the line without tearing the bark. Once seated, change the angle of the blade so it runs almost parallel to the grain of the stem, angling marginally into the body of the shoot. Slice downward to a depth equal to roughly half the total length of the bevel cut. Do not split the wood by levering the knife; a forced split ruptures the xylem vessels along natural fault lines rather than cutting cleanly through the cellular matrix.
Body mechanics during the tongue cut are critical to avoid injury. Never place fingers or the thumb of the holding hand directly beneath the path of the blade. Many experienced propagators brace both thumbs against one another across the back of the knife blade, using a controlled pinching motion to lever the blade downward into the wood. This opposed-thumb grip gives complete control over cutting depth, halting the blade instantly if the wood yields unexpectedly.
| Cut Parameter | Specification | Functional Purpose |
|---|---|---|
| Bevel Face Length | 3 to 4 times stem diameter | Balances cambial exposure against structural stability |
| Tongue Start Location | One third down from the tip | Prevents splitting the thin tip while allowing room for interlock |
| Tongue Cut Depth | Half the length of the bevel | Allows tongues to slide deep without buckling wood fibers |
| Scion Node Count | 2 to 3 vegetative buds | Provides foliage sink without overwhelming water supply |
Cambium Alignment Criteria and Binding Options
The vascular cambium is an extremely thin cylinder of meristematic cells lying directly between the inner green bark (phloem) and the hard white wood (xylem). Growth and survival depend entirely on bringing the cambium of the scion into direct physical contact with the cambium of the stock. Slip the tongue of the scion behind the tongue of the rootstock, pushing the two components together until the cut ends seat flush against the base of the opposing bevels. The bark margins must match along at least one entire edge.
Because bark thickness varies between wild seedlings and mature scion sources, do not align the outer rough surface of the bark. Instead, look closely at the thin green line exposed just beneath the outer epidermis. If your scion is narrower than the seedling, shift the scion deliberately to one side so the green lines intersect and run parallel along that single flank. Leaving the scion centered with a gap on both margins ensures complete cambial failure.
Once aligned, bind the graft immediately to prevent the exposed tissues from oxidizing. Several materials work well, each with specific handling demands:
- Parafilm or specialized grafting tape: Stretches thinly, seals moisture, and degrades under sunlight within 6 to 8 weeks. It does not exert strong mechanical pressure, so it requires well-cut joints that lock tightly on their own.
- Rubber grafting strips: Provide continuous elastic tension that keeps the cambial layers pressed together even as the wood expands. They require an exterior coat of grafting wax or sealant to prevent desiccation.
- Vinyl electric tape: Offers high tension and low cost, but does not degrade naturally. It must be applied with the sticky side facing outward or wrapped over a base layer of parafilm to avoid stripping young bark upon removal.
- Natural raffia soaked in water: A traditional choice for heritage systems. Biodegradable and firm, but requires tying off with half-hitches and sealing with cold wax or asphaltic grafting compound.
Apply your chosen wrap from the bottom of the cut upward, overlapping each turn by half the width of the band. Extend the wrap 15 millimeters above and below the cuts to seal out rain, spores, and drying winds. If you use a permeable wrap, seal the tip of the scion with a dab of wax or latex sealant to prevent moisture loss through the cut apex.
Callus Formation Monitoring and Tape Removal
After assembly, hold the dormant grafts in an environment that encourages callus development before top buds break. Rootstocks should be packed in damp peat moss, perlite, or shredded wood shavings. For pome fruits like apples and pears, the ideal callusing temperature ranges between 15 and 20 degrees Celsius for 14 to 21 days. Stone fruits such as plums and cherries demand warmer temperatures, around 21 to 24 degrees Celsius, to trigger rapid cell division. Lower temperatures slow callusing, allowing opportunistic fungal spores to colonize the cut surface.
Inspect the grafts weekly. Callus appears as a creamy white, pebbly tissue emerging along the edges of the cut seams. When this tissue bridges the seam, vascular bundles begin differentiating into new xylem and phloem channels. As soon as callus is visible and outdoor soils warm to roughly 10 degrees Celsius, move the bare-root grafts to their nursery beds or field containers to keep the root systems active and healthy.
Monitor the graft union closely through the late spring and early summer. As the new shoot extends, the stem expands rapidly in girth. Non-degrading tapes like vinyl or tight rubber bands will girdle the stem if left in place too long, creating a weak swelling that snaps in moderate wind. When the scion has produced roughly 150 to 200 millimeters of active growth, inspect the union. If the tape shows signs of constricting the expanding wood, slice the wrap vertically on the backside of the graft with a razor blade, taking care not to cut through the fresh callus, and peel the binding away carefully.
Common Mistakes to Avoid
Even small procedural deviations can ruin a batch of bench grafts. Watch for these frequent issues during grafting sessions:
- Wavy cut surfaces: Created by using a thin, flexible blade or changing knife angle mid-stroke. Leaves air gaps where cambium cannot bridge.
- Dessication during assembly: Taking longer than 90 seconds to assemble and wrap the cuts. Keep cut pieces in a clean, damp cloth until the moment of joining.
- Over-budding the scion: Leaving four or more buds on the scion stick. The emerging leaves demand more water than the incomplete vascular connection can pull from the root system. Limit scions to two or three healthy buds.
- Failing to remove rootstock suckers: Heritage seedlings vigorously push dormant buds located below the graft union. Rub these out with your thumb weekly to direct all sap energy into the scion.
Field Transition and Next Steps
Once you verify vigorous shoot growth and callus formation, establish a consistent management regimen for the maiden trees. Transplant containerized or callused bench grafts into nursery rows spaced 30 to 45 centimeters apart in well-drained loam. Apply a loose, non-compacting mulch of untreated wood chips around the base of the seedlings to conserve moisture and suppress competing weeds, keeping the mulch 50 millimeters away from the fresh graft union.
Stake the young scion shoot once it reaches 300 millimeters in height. Heritage seedlings often lack the early trunk stiffness found in modern dwarfing stocks, and a single summer storm can shear an unbraced graft union. Tie the main leader loosely to a bamboo cane or metal conduit with flexible vinyl tie-tape, maintaining vertical alignment throughout the first growing season. If structural weakness, trunk cankers, or severe pathogen pressure appear across a seedling population, consult your local agricultural extension service or a certified arborist to diagnose site-specific root diseases or soil imbalances.