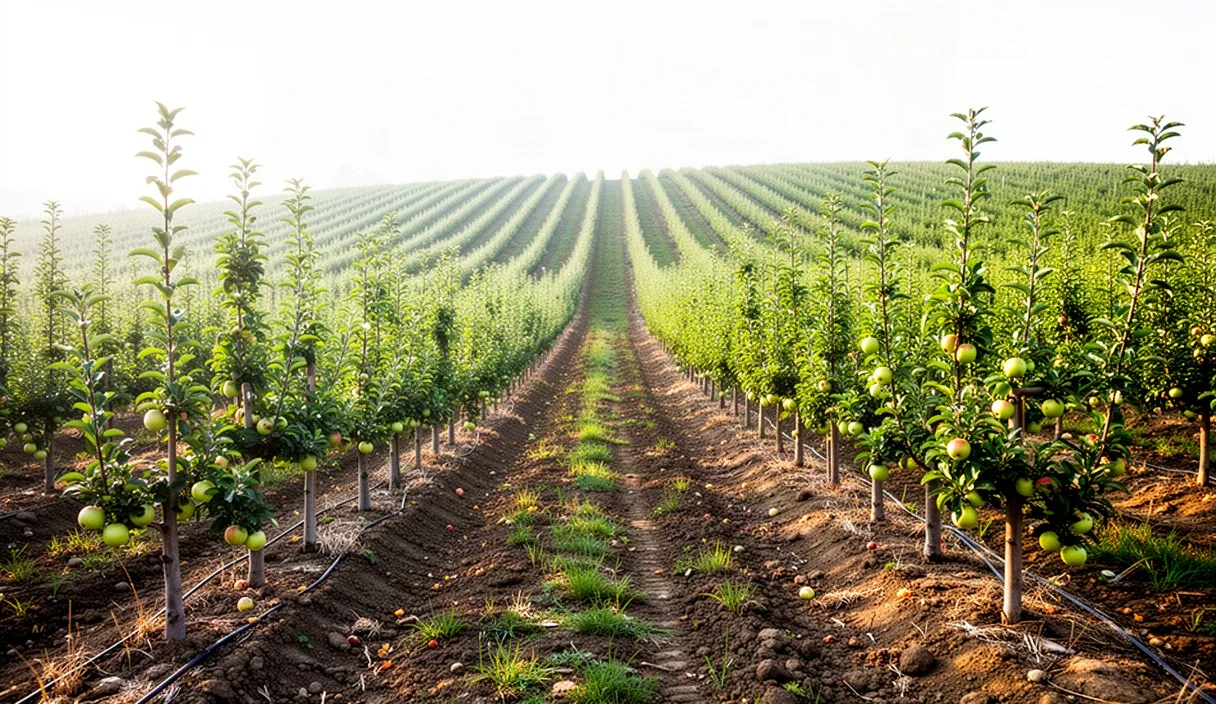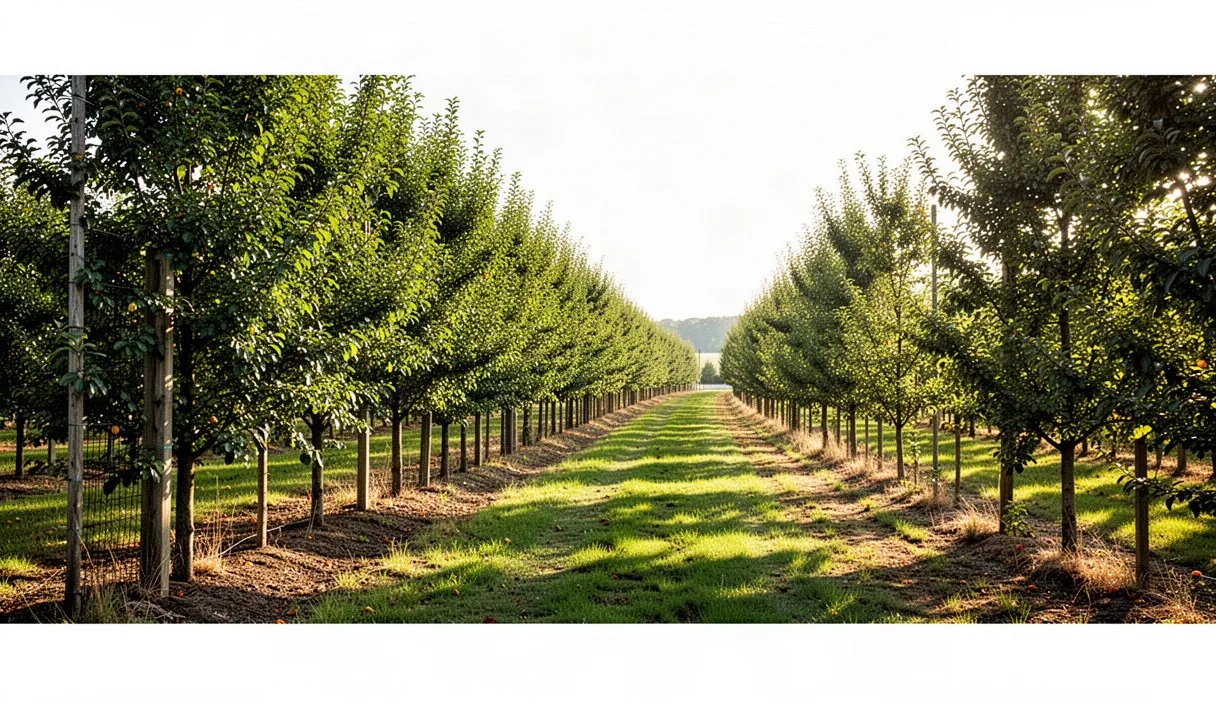

Establishing an orchard requires immediate, precise moisture management during the first growing season. Bare-root and containerized saplings enter the ground with reduced root mass, often having lost over 60 percent of their feeder roots during nursery lifting. Until these trees send anchoring and lateral roots into the native orchard soil, they depend entirely on the moisture retained within the original planting hole. Insufficient moisture stalls shoot extension and induces early dormancy, while excessive water displaces soil oxygen, rotting juvenile taproots and inviting crown pathogens.
Drip irrigation delivers water directly to the establishing root zone with minimal evaporative loss. Designing an effective regime demands more than laying generic poly tubing down a row of whips. Commercial growers must balance soil hydrology, line friction losses, emitter discharge consistency, and seasonal root architecture. A systematic approach to volume calculation, hardware layout, and delivery scheduling protects your capital investment and sets structural growth benchmarks for the life of the orchard.
Calculating Liters per Tree Across Soil Types
Water requirements for first-year saplings depend on the reference evapotranspiration rate of the site, the canopy area, and the water-holding capacity of the soil. A newly planted sapling with an average trunk caliper of 12 to 18 millimeters and a sparse canopy of primary scaffold limbs transpires far less total volume than a mature tree, yet it requires higher frequency because its root system cannot explore deep soil layers. Estimating daily needs begins with calculating local reference evapotranspiration (ETo) multiplied by a juvenile crop coefficient (Kc), which typically ranges between 0.25 and 0.40 for first-year deciduous fruit and nut trees.
A standard formula for young tree daily water requirement is: Daily Liters = ETo (in millimeters) multiplied by Effective Canopy Area (in square meters) multiplied by Kc, divided by the application efficiency (typically 0.88 to 0.92 for well-maintained drip systems). For a mid-summer ETo of 6 millimeters per day and an effective root-canopy footprint of 0.8 square meters, a single sapling consumes roughly 1.8 to 2.4 liters per day under moderate conditions. In arid interior valleys or during sustained heat spikes above 35 degrees Celsius, this demand can climb to 4.5 to 6.0 liters per tree per day.
Soil texture determines how that volume must be distributed. Coarse sands hold very little plant-available water, allowing moisture to drain vertically beyond the juvenile root zone within hours. Clay soils hold large volumes of water but absorb it slowly, creating standing saturation if delivery rates exceed the infiltration capacity. Loam soils offer the widest operational window, balancing retention with rapid capillary spread.
| Soil Texture | Available Water Capacity (mm/m of depth) | Basic Infiltration Rate (mm/hour) | Target Delivery Frequency | Single Set Volume (Year 1 Sapling) |
|---|---|---|---|---|
| Coarse Sand | 50 to 75 | 25 to 50 | Daily or split-daily | 2.0 to 3.5 liters |
| Sandy Loam | 90 to 125 | 15 to 25 | Every 2 days | 4.0 to 6.0 liters |
| Silt Loam | 150 to 190 | 10 to 15 | Every 3 to 4 days | 7.0 to 10.0 liters |
| Clay Loam / Clay | 130 to 170 | 2 to 5 | Every 4 to 5 days | 8.0 to 12.0 liters |
Emitter Spacing Relative to the Root Ball
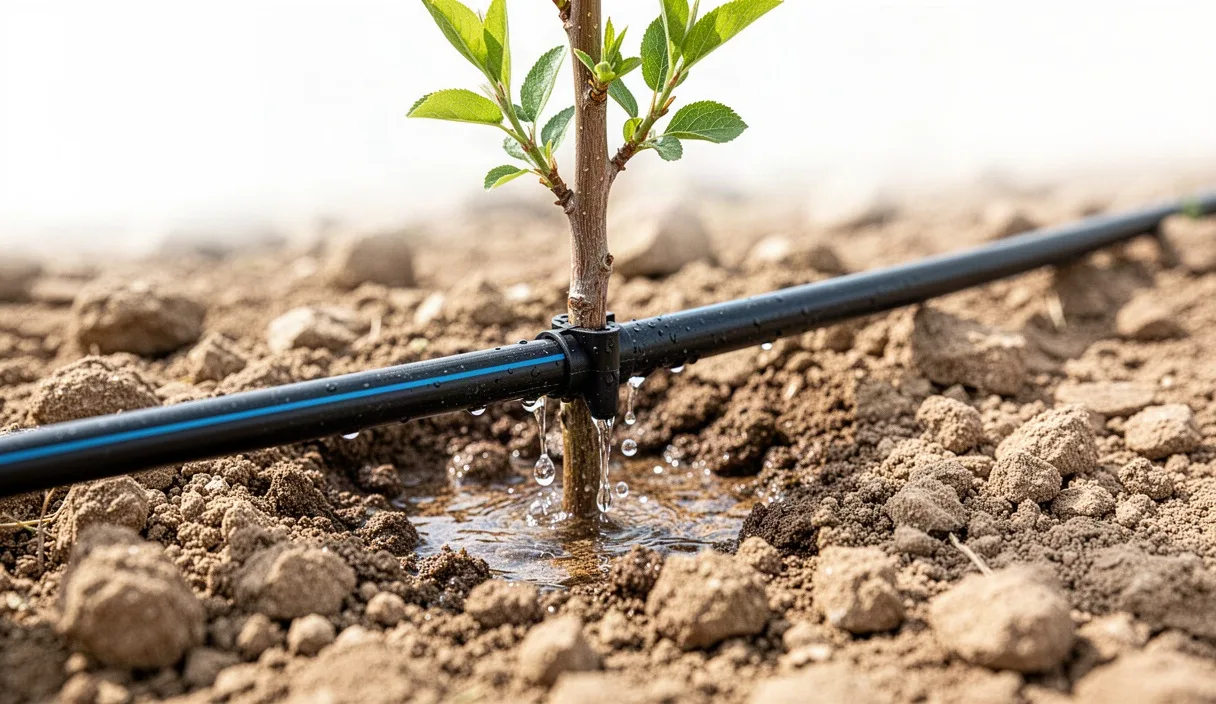
A frequent error in first-year blocks is placing drip emitters directly against the root flare. Concentrated water discharge against the trunk base softens the bark tissue, limits gas exchange, and creates ideal colonization conditions for soil-borne pathogens like Phytophthora cactorum. Conversely, placing emitters more than 40 centimeters away in coarse soils leaves the nursery root core completely dry, because horizontal capillary pull in sand is negligible.
For standard bare-root plantings, install two pressure-compensating emitters per tree, each rated at 2.0 to 4.0 liters per hour. Position these emitters 20 to 25 centimeters on either side of the trunk along the row line. In coarse sand or gravelly soils, where the wetted pattern forms a narrow vertical column, pull that distance in to 15 to 18 centimeters from the trunk. In silty or clay-rich soils, where horizontal capillary draw is substantial, 25 to 30 centimeters is preferred. This dual-emitter configuration creates two overlapping moisture bulbs that envelope the nursery roots while keeping the trunk collar dry.
As the root system expands outward during the late summer of year one, these emitters can remain in place, but growers must evaluate whether to add a secondary emitter set or slide existing emitters out to 35 to 45 centimeters for year two. If using integrated dripline (pipe with pre-extruded internal emitters), select an emitter spacing of 30 to 50 centimeters. This ensures that at least one emitter lands directly within the active root absorption perimeter, and one lands just outside it to encourage outward root exploration.
Pressure Regulation on Long Orchard Runs
Orchard rows frequently run from 120 meters to more than 350 meters in length. As water travels through polyethylene tubing, internal surface friction robs the system of pressure. Elevation variations compound this problem: a drop of 1 meter down a slope increases hydrostatic pressure by 0.098 bar (1.42 psi), while an incline reduces pressure by the exact same margin. Unregulated systems produce over-watered trees at the low header end and drought-stressed runts at the high terminal end.
To secure uniform growth across an entire block, install pressure-compensating (PC) emitters. PC emitters use a flexible elastomeric diaphragm that flexes across an engineered orifice to maintain an identical discharge rate across a pressure range of 0.7 to 3.5 bar (10 to 50 psi). Non-compensating emitters should never be run on rows longer than 75 meters or on slopes with more than a 1.5 percent grade change.
To design and regulate long lateral runs correctly, execute the following mechanical steps:
- Size the lateral diameter appropriately: Use 16-millimeter internal diameter (ID) tubing for runs under 150 meters with total flow rates below 600 liters per hour. Upgrade to 20-millimeter or 25-millimeter ID tubing for runs exceeding 150 meters or blocks with heavy emitter counts.
- Install inline pressure regulators at the submain: Place a preset mechanical regulator (such as 1.4 or 2.0 bar) at the head of each block manifold to protect against upstream pump pressure surges.
- Verify residual pressure at row ends: Measure the static and dynamic pressure at the furthest flush valve using a Schrader valve or pressure gauge adapter. Ensure that the dynamic pressure at the furthest emitter remains at least 0.2 bar above the minimum compensation threshold of your selected drippers (typically 0.7 bar, requiring a minimum of 0.9 bar at the terminus).
- Split long runs with center-fed manifolds: If a row extends beyond 300 meters, position the submain feed line in the middle of the field rather than at the edge, cutting the lateral length and friction loss by half in both directions.
Scheduling Delivery: Pulse Versus Deep Soaking
Choosing between pulse irrigation and deep soaking dictates how effectively the young sapling uses applied water and nutrients. Pulse irrigation consists of running multiple short cycles per day (for example, three distinct 40-minute sets separated by two-hour rest intervals). Deep soaking runs the system continuously for three to six hours once or twice per week.
Pulse irrigation excels in sandy, gravelly, or shallow soils. Coarse substrates possess high macroporosity and low capillary suction. When water is applied continuously, gravity pulls it rapidly below the top 30 centimeters of soil, past the reach of first-year roots, leaching soluble nitrates into deep groundwater. Pausing the irrigation allows the water to stabilize and spread laterally through capillary tension before the next application, keeping moisture banked inside the actual root zone.
Deep soaking is the correct choice for medium-to-heavy textured soils, such as silt loams, clay loams, and structural clays. These soils possess strong capillary forces and lower infiltration rates. Applying water in single, prolonged events encourages roots to follow the descending moisture front, establishing a deep, resilient root system capable of withstanding summer heat waves. Deep soaking also reduces salt accumulation around the immediate perimeter of the root ball by leaching ambient irrigation salts safely below the root zone.
To verify which strategy matches your ground, monitor soil moisture tension rather than guessing based on surface dryness. Install two tensiometers or solid-state electrical resistance sensors near representative trees: one at a depth of 20 centimeters (active root zone) and one at 50 centimeters (deep boundary). For first-year saplings in loam soils, trigger irrigation when the 20-centimeter sensor reads between 25 and 35 centibars (kPa). If the 50-centimeter sensor remains saturated (under 10 centibars) while the upper sensor dries out rapidly, your run times are too long, signaling an immediate need to transition to shorter, more frequent sets.
Winterization and Line Flushing Standards
System maintenance at the close of the first growing season preserves your dripline and prevents catastrophic blockages when water is turned back on in spring. Biofilms, algae, suspended silt, and mineral scale collect inside lateral lines over months of slow flow. As ambient temperatures drop, standing water inside lines, valves, and manifold regulators poses a severe freeze rupture risk.
Flush laterals and mainlines before the first hard freeze by executing this protocol:
- Clean primary filtration units: Backwash media filters and dismantle disc or screen filters. Scrub elements with a stiff nylon brush and a mild detergent or chlorine solution to strip organic slime.
- Scour the submain manifolds: Open the terminal flush valves on all submain headers. Run the irrigation pump to achieve a flushing velocity of at least 0.6 meters per second through the main infrastructure, discharging accumulated sand and pipeline debris until the water runs clear.
- Flush drip laterals systematically: Open the ends of 10 to 15 lateral lines at a time. Do not open an entire 200-row block at once, as system pressure will collapse, reducing flow below the critical scouring velocity (0.4 to 0.5 meters per second) required to drag fine silt and bacterial sludge out of the tubing ends. Close the ends once the discharge runs completely clear.
- Dose with line cleaner if minerals are present: In regions with high calcium carbonate or iron, inject an approved acid or mineral descaling agent to bring line pH down to 4.5 to 5.0 for the final flush. Let it dwell according to product specifications, then flush thoroughly. Consult a certified agronomic input specialist before handling and injecting concentrated acids.
- Evacuate standing water with compressed air: In severe winter zones, connect a mobile air compressor to the manifold through a regulated connection. Blow out lines using high volume (CFM) at low pressure (never exceeding 2.0 bar or 30 psi). Excessive air pressure can shatter brittle PVC fittings or dislodge internal dripper diaphragms. Drain all above-ground check valves, backflow preventers, and pressure regulators manually.
Common Mistakes
Field observation reveals several recurring errors that compromise first-year orchard stands:
- Burying tubing under thick mulch: Placing drip lines directly under 15 centimeters of woodchips makes visual inspection impossible, traps moisture against the tree collar, and encourages voles and field mice to chew through lateral tubing undetected. Keep dripline resting on the soil surface or elevated on wire clips just below the mulch layer.
- Failing to account for lateral stretch and thermal expansion: Black polyethylene tubing expands in midday heat and contracts sharply in cold weather. Tubing anchored tightly without slack pulls away from row ends or dislodges emitters during the first autumn chill. Allow 1 to 2 percent excess tubing length along the row.
- Trusting automated controllers without visual ground checks: Solenoids fail, flow meters plug, and line leaks drop pressure unnoticed. A scheduled 45-minute set might register on the controller screen while a severed line starves 40 trees downstream. Walk the rows weekly with a soil probe to confirm physical moisture delivery to the root core.
- Over-fertilizing through the drip line early in the season: Injecting high concentrations of nitrogen through the drip system before the sapling exhibits strong active vegetative growth scorches tender young root tips. Wait until saplings have pushed at least 15 to 20 centimeters of new terminal growth before beginning light, frequent fertigation passes.
Moving Forward with System Setup
Before the planting date arrives, take soil core samples across the block to identify transitions in texture that require independent irrigation zoning. If you encounter steep slopes or undulating topography across your proposed tree rows, consult an agricultural irrigation engineer to calculate hydraulic head pressures, pipe friction budgets, and manifold sizing. Ensure that all primary pump filters, submain valves, and pressure gauges are calibrated and operational before the first root system enters the soil.
Once trees are in the ground, install your emitter assemblies immediately and conduct a baseline hydraulic run. Inspect every single tree station to confirm that emitters seat securely, check for pinhole manufacturing defects along the line, and verify that soil moisture penetrates the target depth without pooling around the root crown. Direct, continuous monitoring throughout the initial twelve weeks will establish an orchard foundation built on uniform vegetative growth and deep structural rooting.