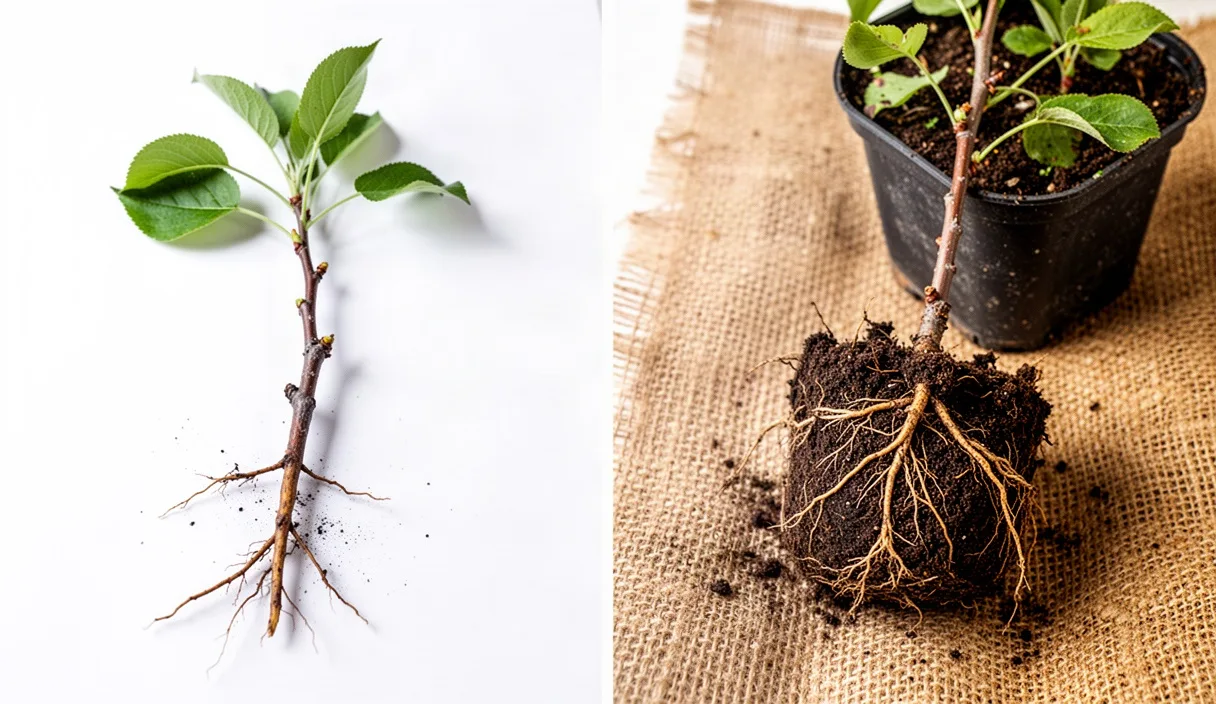

Root systems require oxygen as much as they require water. When perennial fruit and nut trees sit in waterlogged ground for more than forty-eight hours during active growth, fine root hairs suffocate and die, creating points of entry for pathogens like Phytophthora. Surface water that disappears after a rainstorm can mask stagnant layers three feet down. Establishing an orchard row without measuring how fast water moves through the entire root zone risks premature tree decline, uneven vigor, and wasted capital on nursery stock.
Diagnosing physical soil restrictions before digging rows gives you the chance to modify the ground with heavy equipment, adjust planting berms, or select rootstocks suited to heavier textures. Once trees are in the ground, deep soil remediation becomes impossible without destroying root networks. Running systematic percolation tests and examining the soil profile at working tree-depth will clarify whether your site needs subsoil ripping, subsurface tile drainage, or a different crop plan altogether.
Infiltration Rates Versus Subsoil Retention
Surface infiltration describes how quickly water breaches the top two to four inches of topsoil. Subsoil retention, by contrast, describes how long moisture remains trapped in the lower soil horizons where anchoring and deep feeding roots live. A sandy loam topsoil may drink three inches of rain per hour, giving the illusion of excellent drainage, while a dense clay layer two feet down prevents that water from leaving the orchard floor.
Orchard trees inhabit a deep vertical column. Stone fruits on standard rootstocks send structural roots down four to six feet, while dwarf apple rootstocks remain primarily in the upper eighteen to twenty-four inches. When water enters the surface faster than the subsoil can clear it, a perched water table forms. The pore spaces fill with water, displacement forces out oxygen, and toxic anaerobic compounds accumulate around the root flare.
Measuring the difference requires testing at two distinct zones. Topsoil percolation tells you if water will pond on the surface and cause crown rot. Deep test holes show whether subsoil horizons will drain freely by gravity or retain water like a bathtub. An ideal orchard site demonstrates a steady percolation rate between one and two inches per hour throughout the upper forty inches of the profile. Anything slower than a half-inch per hour indicates a drainage restriction that requires structural correction.
Digging and Sizing Test Pits
Relying on a standard six-inch hand-auger hole hides structural variations in the soil profile. To evaluate an orchard site thoroughly, dig test pits using a mini-excavator or backhoe across the proposed planting area. Place at least one pit at the highest elevation, one in the lowest zone, and several across any noticeable transition lines in vegetation or topography. For small parcels under five acres, three to five pits yield a dependable baseline.
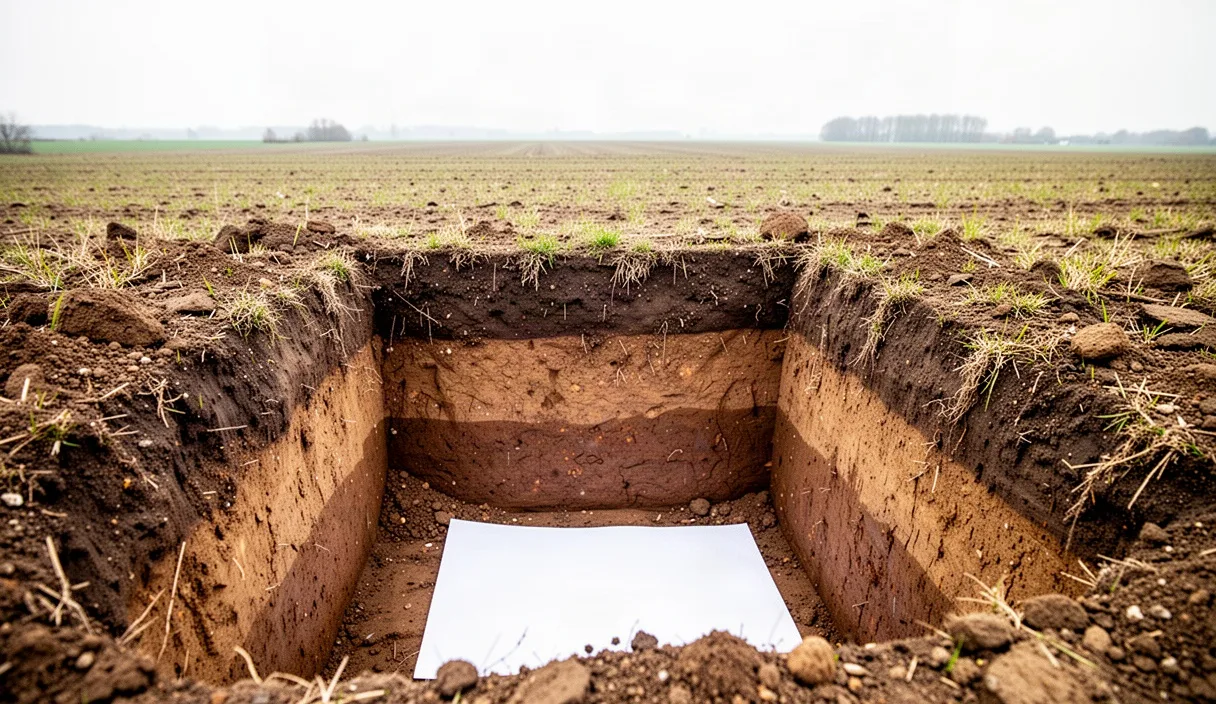
Excavate each pit to a depth of five feet, or down to solid bedrock if the profile is shallower. Make the trench three feet wide and five to six feet long. Step one side of the trench to allow safe entry, and keep the vertical face clean and unsmeared. Scraping the vertical face with a hand trowel or spade removes the glaze left by the excavator bucket, exposing natural soil structure, root channels, and horizon transitions.
Once you inspect the vertical face, run an internal percolation test inside the pit floor, or dig a specific testing shelf eighteen to twenty-four inches below the surface:
- Clear a flat shelf at your target evaluation depth, and dig a circular hole eight inches in diameter and twelve inches deep.
- Scrape the sides of this hole to remove smeared clay, and place two inches of coarse pea gravel at the bottom to prevent sediment disturbance when filling.
- Fill the hole with water to the top and allow it to pre-soak. In dry soils, refill it continuously for at least four hours, or let it soak overnight, to bring the surrounding soil to field capacity. Measuring dry soil gives artificially high drainage figures that collapse once the ground is saturated.
- After the pre-soak, adjust the water level to six inches above the gravel.
- Measure the water drop every thirty minutes using a fixed measuring stick and a level reference point across the top of the hole. Continue recording for four hours.
- Calculate the hourly drop based on the final two hours of the test, when the rate stabilizes.
Interpreting Clay Horizons and Mottling
The walls of your test pit tell the hydrological history of the ground through color and texture changes. As water tables rise and fall over seasons, iron and manganese in the soil undergo chemical oxidation and reduction. These reactions leave permanent visual indicators known as redoximorphic features or mottling. You do not need to wait for a heavy storm to know that a site experiences seasonal waterlogging; the profile displays the evidence year-round.
Uniformly brown, red, or yellowish subsoils indicate well-aerated ground where oxygen is consistently present to oxidize iron. Conversely, dull gray, bluish, or olive colors, termed gleyed soil, show prolonged saturation where anaerobic conditions have stripped the iron of oxygen. If you observe rust-colored or bright orange spots surrounded by a gray matrix, water ponds at that depth for extended periods during the year, even if the soil is dry on the day you dig.
Locate the depth at which mottling begins. If mottling appears within eighteen inches of the surface, standard fruit trees will suffer root death during wet springs without severe mechanical intervention. If mottling begins below forty-eight inches, most orchard crops will thrive without subsurface modification, provided surface run-off is managed.
| Subsoil Color Pattern | Hydrological Condition | Percolation Rate | Orchard Suitability |
|---|---|---|---|
| Uniform red, brown, or bright yellow | Well-drained; rarely saturated; aerated | 1.5 to 3.0 inches per hour | High; suitable for all rootstocks without modification |
| Faint orange specks below 36 inches | Moderately well-drained; brief seasonal saturation | 0.75 to 1.5 inches per hour | Good; requires careful rootstock selection |
| Distinct gray and orange mottles at 18 to 36 inches | Imperfectly drained; regular winter/spring water table | 0.25 to 0.75 inches per hour | Marginal; requires mounding and possible subsoiling |
| Continuous gray, blue, or olive matrix within 18 inches | Poorly drained; chronic oxygen depletion | Less than 0.25 inches per hour | Unsuitable for standard orchards without engineered drainage |
Subsoiling and Ripping Depths
If your test pit reveals a compacted plow pan, a dense traffic layer, or a restrictive claypan between twelve and thirty inches deep with permeable soil underneath, mechanical ripping can restore vertical drainage. Subsoiling breaks up cemented layers, allowing gravity to carry excess moisture down to deeper horizons. However, subsoiling is not a universal cure, and executing it incorrectly destroys soil structure instead of improving it.
Ripping must reach four to six inches below the bottom of the hardpan layer to lift and fracture it effectively. Pulling a shank through the top half of a hardpan merely carves an underground trench without shattering the restrictive plate. If the hardpan sits at twenty inches and is six inches thick, your equipment must run at least thirty inches deep. Use a tractor with sufficient drawbar power, usually forty to fifty horsepower per shank, to maintain forward momentum without excessive wheel slip.
Soil moisture at the time of ripping determines success. If you rip soil that is wet or plastic, the tractor shank cuts a smooth, smeared groove through the subsoil, creating an underground canal with compacted sidewalls that traps water rather than draining it. Subsoiling must occur when the soil is dry and friable, typically in late summer or early autumn. In this state, the shank shatters the soil outward in a forty-five-degree cone, cracking the pan across the row footprint.
Space passes relative to shank depth. As a baseline rule, shank spacing should match one to one-and-a-half times the working depth. If you are ripping thirty inches deep, space passes no more than thirty to forty-five inches apart. Cross-ripping at a forty-five-degree angle to the planned tree rows provides the most thorough fracturing, but avoid ripping directly across steep slopes where loose subsoil channels might concentrate water and cause subsurface erosion.
Remediation Choices for Low-Drainage Soils
When tests reveal that low infiltration stems from deep native clay rather than an isolated plow pan, ripping provides only temporary relief. Within three to five years, native clay resettles and reconsolidates. In these settings, you must adjust the planting environment physically or install permanent water-removal systems.
Constructing Raised Berms
Planting trees on broad berms lifts the primary root collar and crown tissue above the saturation zone. Construct berms twelve to eighteen inches high and four to six feet wide at the base. Build these ridges using topsoil pulled from the drive alleys using a road grader or bedding plow. This effectively doubles topsoil depth directly under the tree row while establishing natural swales in the middles to carry excess surface runoff away from the property.
Installing Corrugated Tile Drains
For chronic high water tables, corrugated perforated polyethylene tubing wrapped in geotextile fabric removes free gravitational water from the root zone. Install drainage lines three to four feet deep, positioned parallel to tree rows or through the center of every other drive row. The lines require a minimum slope of two-tenths of a foot per one hundred feet of run to prevent sediment from settling inside the pipe. Tile drainage lowers the water table by gravity, discharging water into a natural ditch, retention pond, or designated culvert.
Selecting Resilient Rootstocks
Rootstock selection alters a tree's tolerance to periodic wet conditions. When subsoil tests indicate borderline drainage that cannot be fully corrected, avoid rootstocks known for high oxygen sensitivity:
- Apples: Shift away from rootstocks like M.26 or MM.106 in slow-draining ground, as both are vulnerable to root rot. Choose Geneva series rootstocks such as G.41, G.890, or G.214, which show strong resistance to Phytophthora and tolerate wet conditions better.
- Stone Fruits: Standard peach seedling rootstocks decline rapidly in wet soils. Consider plum-based or interspecific hybrids like Krymsk 86 or Mariana 2624, which tolerate heavier soils and higher moisture loads without collapsing.
- Pears: Pyrus calleryana handles moisture swings and heavier soil far better than standard European pear seedlings or quince selections.
Common Mistakes
- Testing dry holes without pre-soaking: Parched soil pulls water in through capillary action, recording an artificially fast drop. Without an extended pre-soak, your data represents suction rather than true gravitational percolation.
- Stopping at shovel depth: Evaluating only the top eight inches of the soil misses subsurface hardpans and perched water tables that develop thirty inches beneath the surface.
- Ripping wet ground: Running a subsoiler through moist clay forms smeared, glazed walls that seal off water movement, worsening the drainage problem.
- Ponding backfill in planting holes: Amending planting holes with sand or compost in heavy native ground creates a sponge effect. Water flows into the loose amended pocket from the surrounding clay, drowning the young tree. Always backfill with native soil.
- Overlooking outlet elevations: Installing subsurface drain tile without first confirming an open, lower-elevation gravity discharge point leaves water stranded in the lines.
Immediate Actions for the Orchard Site
Before staking tree rows, complete the following sequence across your planting ground:
- Order a county soil survey map or use an online soil resource to identify historic soil series, expected clay layers, and typical seasonal water table fluctuations on your parcel.
- Hire or rent a mini-excavator to dig exploratory test pits down to five feet across your planting zones. Photograph every wall face with a scale measure present.
- Run pre-soaked percolation tests on the trench shelves at eighteen and thirty-six inches. Log the drop rates every thirty minutes until numbers stabilize.
- Check the vertical face for rust mottles, blue-gray matrices, or compacted plow pans. Note the specific depth where color shifts occur.
- If an impermeable pan sits above permeable subsoil, mark the area for dry-season deep ripping before establishing rows.
- If the ground shows systemic heavy clay and slow percolation throughout, adjust your site layout to include constructed berms and order rootstocks rated for wet-foot tolerance. Consult an agricultural drainage contractor if the field requires engineered collector pipes and gravity outlets.